Just thought I would share this here too in case anyone outside the Talos3D group found it interesting.
Originally shared by Eric Lien
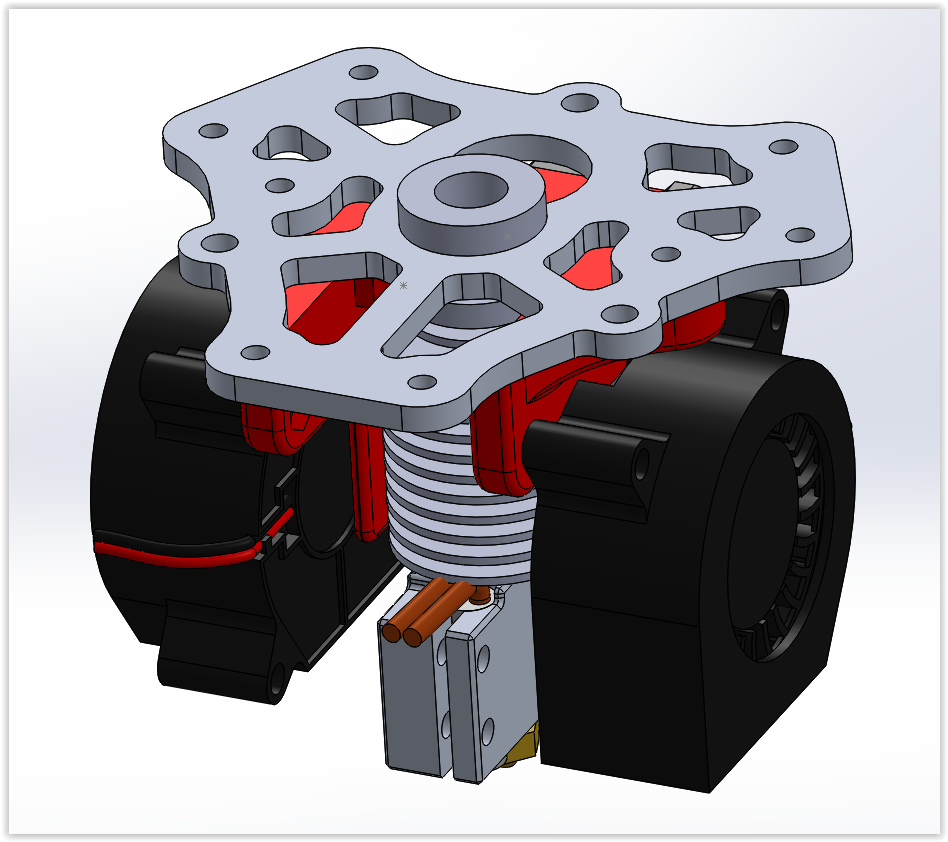
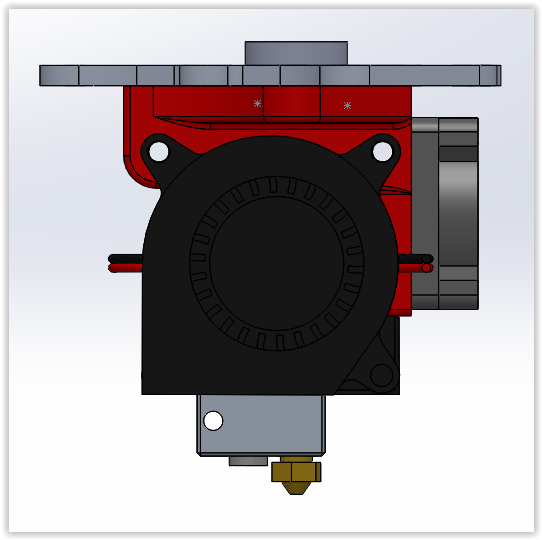
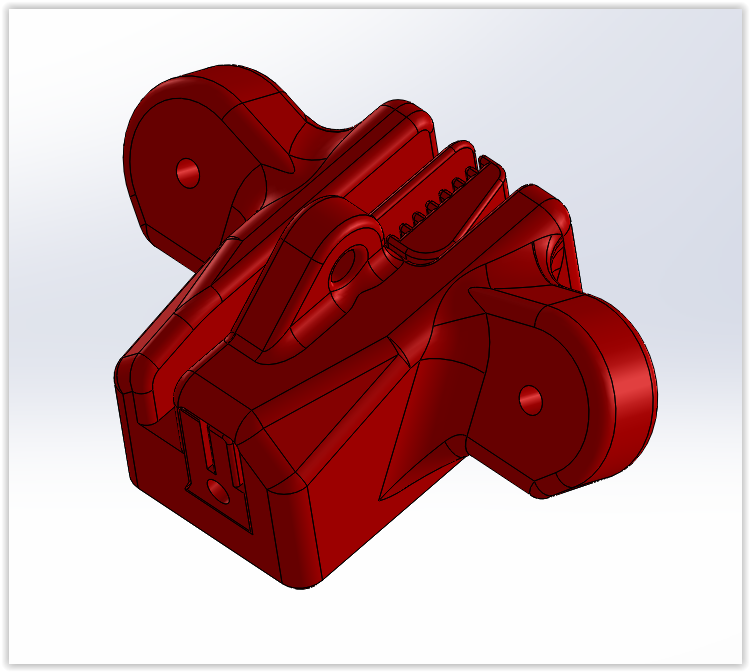
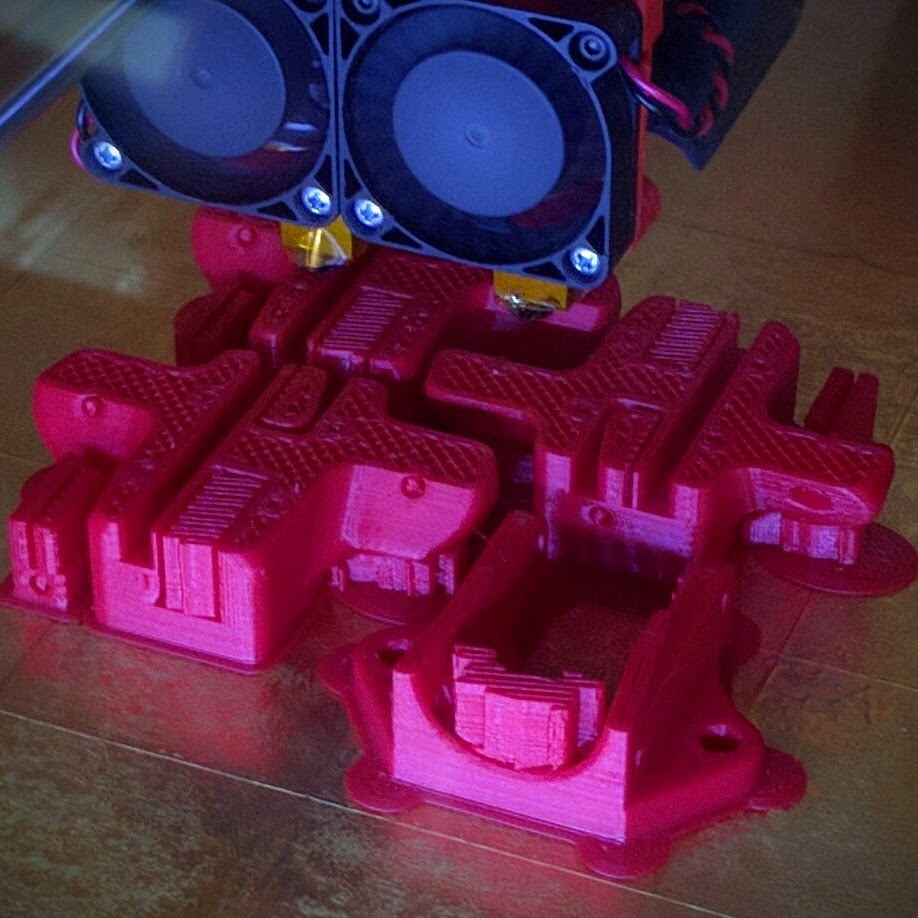
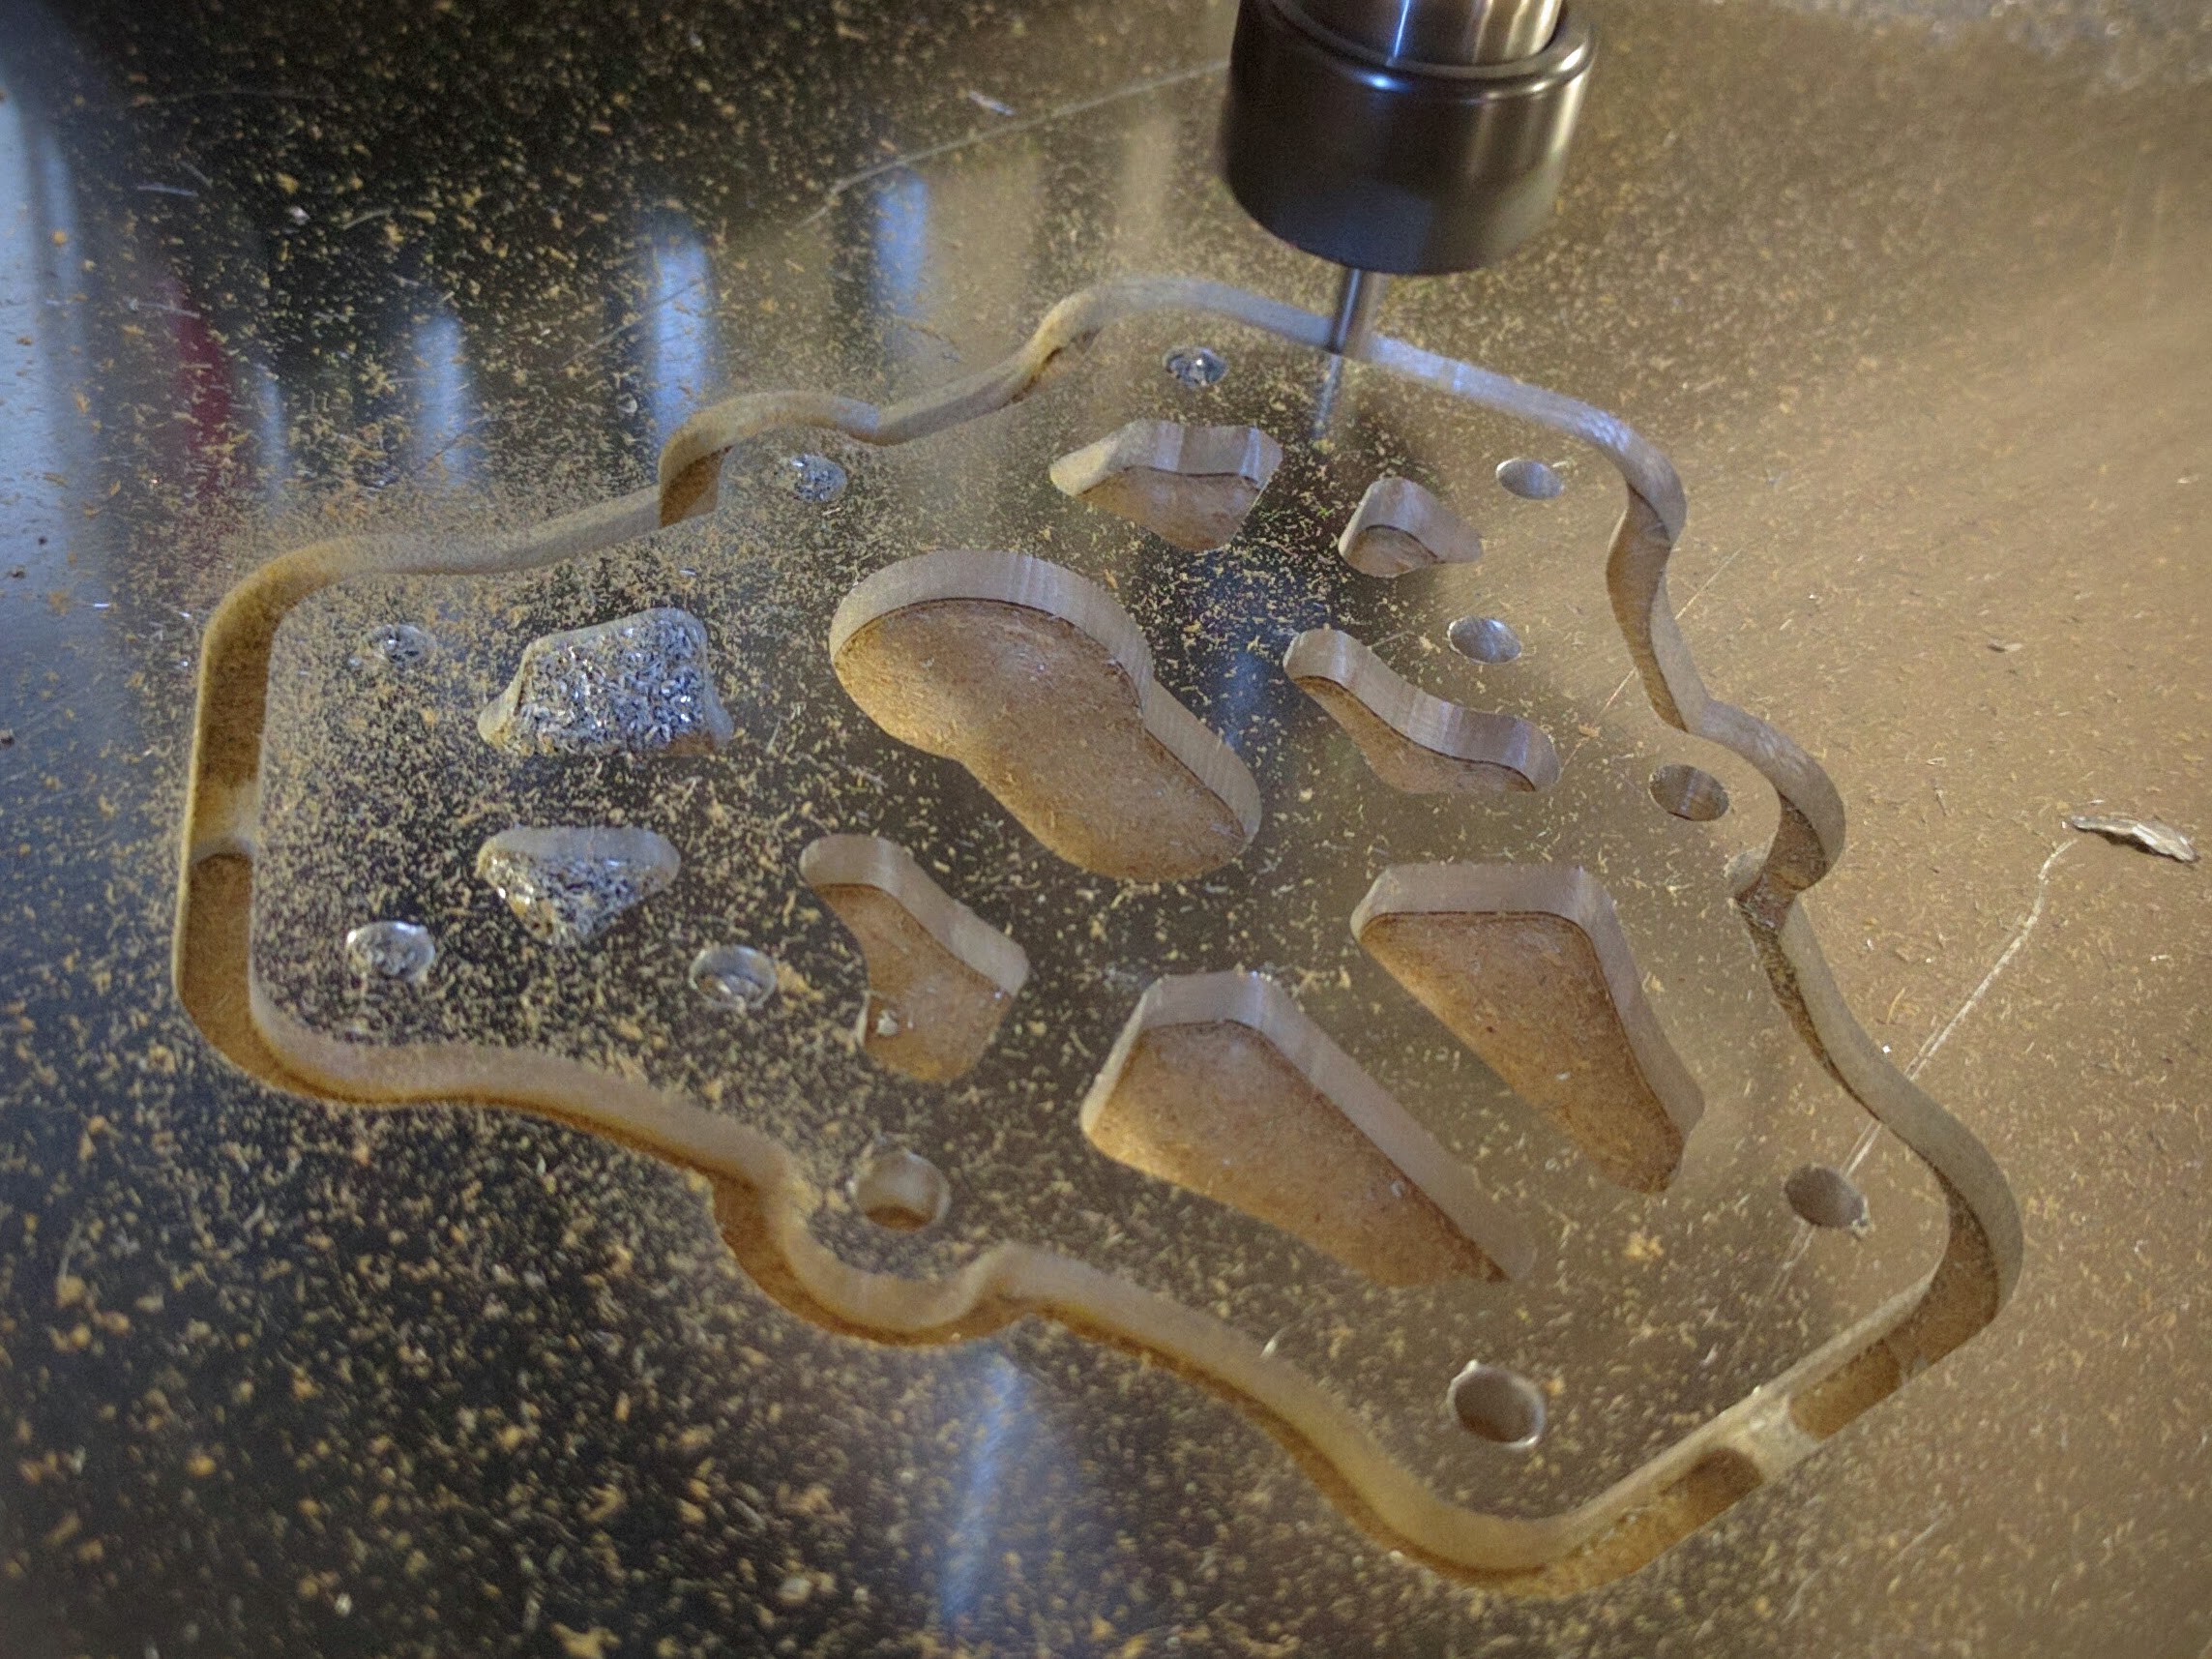
Had some fun the last few days making a new end effector for the Talos3D Tria Delta. What I found is the printer is so reliably stable that I never actually used the inductive level probe after first calibration. Plus now that I know more about tuning the delta it is actually very easy to hand tune the limit offsets, Z-Max, and arm radius.
So I set out to make an effector with less weight, dual cooling blowers, and most importantly fail-safe bungee cords for in case the magnetic joints ever popped of.
I have had the effector pop off a few times on the original design due to a nozzle catch during a fast travel move. Luckily so far I have always been close buy… until the last time (picture in the album). With these new bungees I feel much more confident letting the printer run at night without fear it could burn my house down.
I will be getting everything finalized, then do a pull request on the Talos Tria Github to add this under a “User Modifications” for the Tria. Hope you guys enjoy it.
I am still working on a duct design for the V6 and Volcano hot ends that I like. Plus I need a second blower and some wiring cleanup on the effector.
Looks super good Eric! I really need to build a CNC so I can machine parts like this
@Griffin_Paquette I love the addition of a CNC to my maker bag of tricks. Printing is great, but there are certain parts that just make more sense in metal than plastic. Hope you can get a CNC router/mill one day. It opens up a whole new world of possibilities.
@Eclsnowman do you have a summary of how you calibrated your delta so reliably? Thanks
@Jonathan_Lussier I just used the manual method from the Smoothie Delta Calibration Documentation: http://smoothieware.org/delta#toc13
“Manual Calibration”
After setting gamma_max to 20 mm above bed, home, then move to a point at the edge of the bed in front of tower X. get the head set just right (paper width or whatever) do M306 Z0 then Home.
Do it again and test it is the same. Then move to the spot in front of tower Y, adjust M666 Ynnn until it is the same height, home between each test and setting of M666.
Then do the same for the Z tower using M666 Znnn
Then home and check all three, repeat until they are all the same
Once they are the same save M666 with M500.
Then test the edge vs the center
adjust arm radius (M665 Rnnn) until they are the same, home between each setting. then save with M500.
Then test the three towerpoints and the center again after homing, repeat above until they are all the same.
Lastly set the z height at the center with M306 Z0 and save with M500.
Or use the auto calibration which does exactly that procedure automatically. (Except for the Z height which you still need to do after calibration)."
@Jonathan_Lussier also:
“A suggested workflow for calibrating arm_radius and gamma_max when you first set up a delta printer would be:
Home, then adjust gamma_max until the z-height is correct at the center of the print bed (lightly holding down a sheet of paper).
Re-home, then jog the effector platform near the alpha tower. Adjust alpha_trim using M666 or a physical endstop screw, re-home, and repeat until the paper is held down with equal force at Z=0. (tip: you may want to write some G-code snippets to automate this process, or else you may find yourself doing a lot of jogging - sample scripts developed by Gene Buckle (author of the Rostock Max assembly manual) are at the bottom of this page.)
Repeat step #2 to set beta_trim and gamma_trim (or physical endstop screws) appropriately near the beta and gamma towers.
Re-check the z-height at the center of the bed. If the effector is too high, increase arm_radius slightly, and return to step 1 of this sequence. If the effector is too low, decrease arm_radius slightly, and return to step 1.
Once the z-height is correct, your printer should be well-calibrated. You should not need to re-do these calibration steps unless you change hardware on your printer.”
Excellent as the printer I am looking at has an older controller I am swapping to Smoothieboard :). Thanks @Eclsnowman !
That’s beautiful work! Do you have any trouble with the expansion of aluminum in this part, hot vs. Cold? I’ve been meaning to remodel my Cerberus end effector, and was thinking of machining it from phenolic for a lower COE. Think it’s worth the trouble?
@Robert_Swarner Well I think the surface area the aluminum effector plate has, versus the amount of heat that could travel up past the E3D heat sink should be negligible. It should cool much faster than it could heat up. More than anything the part I like best about the aluminum plate is how rigid it is. Once set I never had to retune my Delta. So I know mechanically it is rock stable.
In other words, it’s cool?