Laser arrived today, but it looks different than other i seen.
How about adding a air assist to this one? anyone tried and what modifications was needed?
Thinking of Lightobjects air assist head, but not sure it will fit properly.
Pretty sure i have to mod it, but if anyone already done it i would be glad to see how you did it
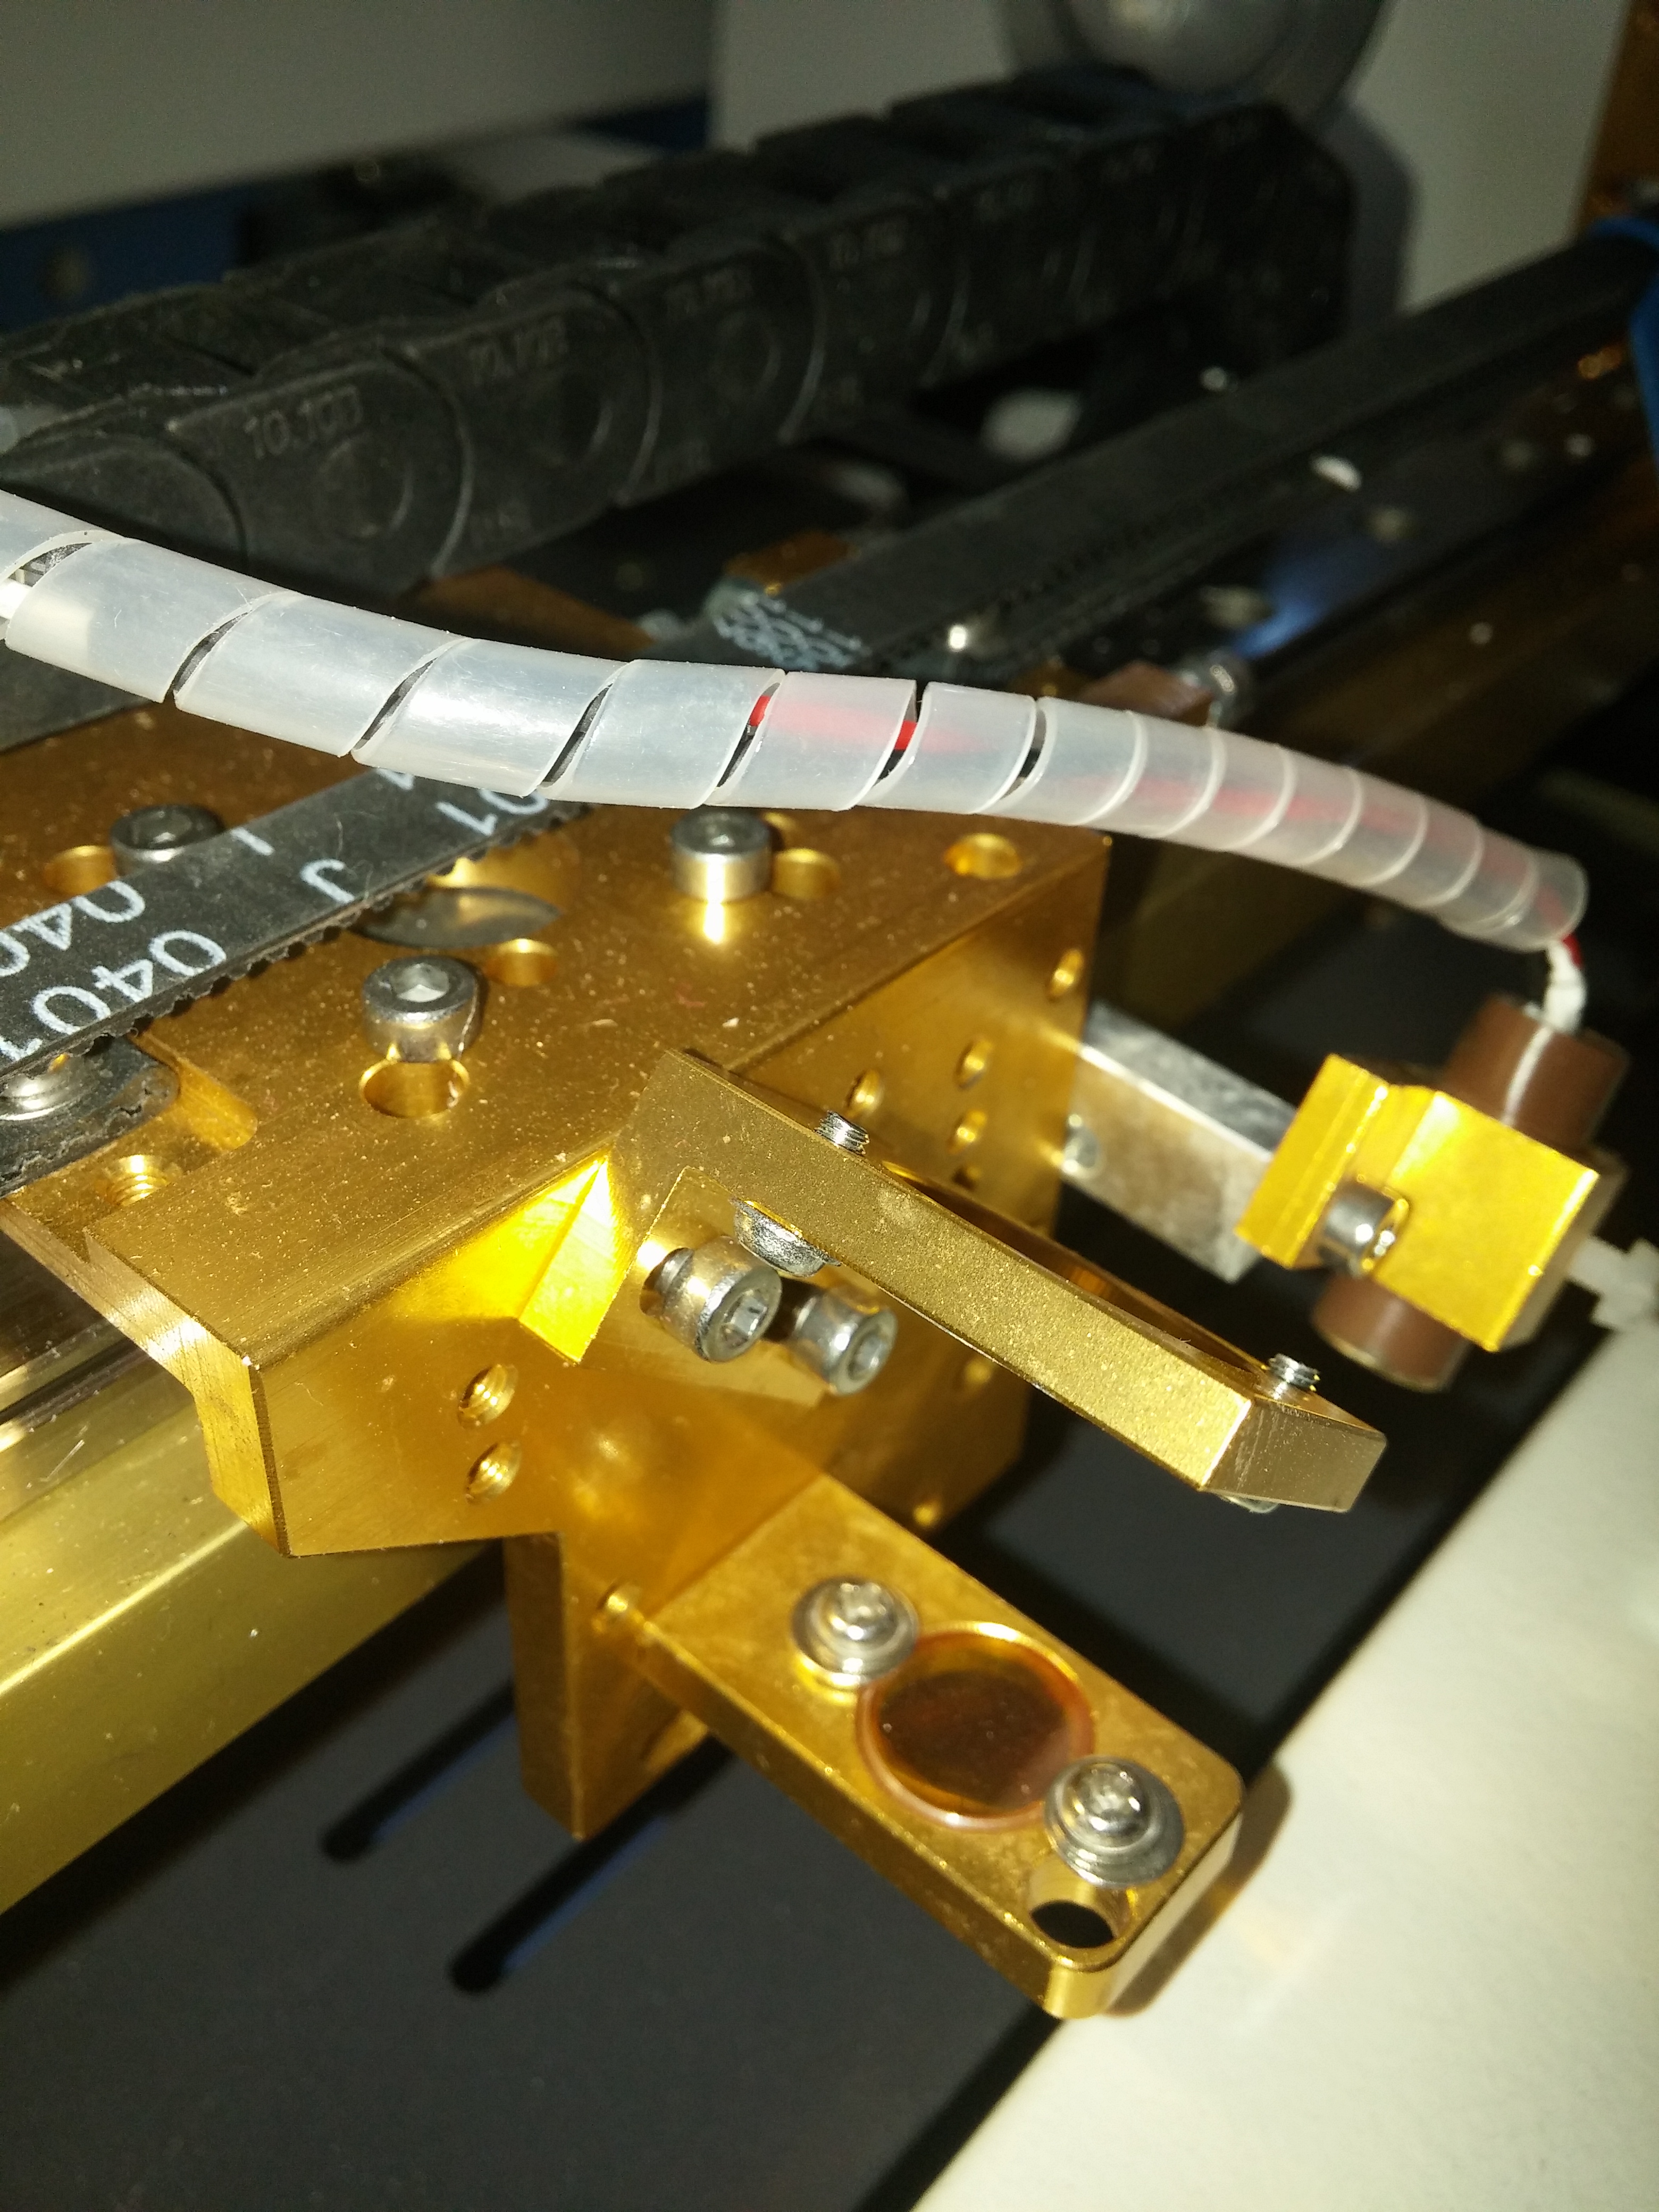
It definitely a different design than the K40’s I’ve seen. Look under the plate that the lens is attached to. If it’s threaded you may be able to screw in an air assist. It wouldn’t hold the lens so lens size wouldn’t be a factor. As long as the threads were the same it should work. If it’s not threaded you’ll have to get creative and figure out another way to mount it.
If you’ll tell me the size of the lens-holding-bar, I could 3d print you one…
Then again, I think I’d take some copper tubing (or automotive brake line) and put it through the hole on that bar and bend it so the air goes where you want it.
It looks similar to my setup on the 50 watt…just missing the head…but the rail looks the same and the gold aluminum angle bracket is the same as mine…all the holes are in the same place.
@HP_Persson thank you for the picts, very interesting indeed community wise. could you top it up with some electronic board details (& picts) could be interesting for potential update. Psu ref, Board ref, connectors type (to motors, end stop), same link is fine. inside photos of electronic side (under control board). +Peter van der Walt
Darn, i forgot that. Coming up more pics in a few hrs
And some data on the boards.
I looked into it yesterday, the board had a cover, but i can easily remove it and check whats below!
4 more pics added to the link.
Could not access the board right now, it was bolted to a panel and that panel bolted to the frame wich needs to be removed to lift the case/top from the board.
Will do that tomorrow when i got some better tools avalible
Laser fired up, water pump changed to a bigger (safer?) one, air system rebuilt, bed squared up, mirrors aligned and all electric connection checked, some soldered and re-crimped
+Peter van der Walt thanks for the idea about a small pipe, picked up some copper brake lines today (5mm) and grabbed one of my air pumps from the fish tank, probably too small but it´s a start
Tomorrow is the first engraving/cutting test!