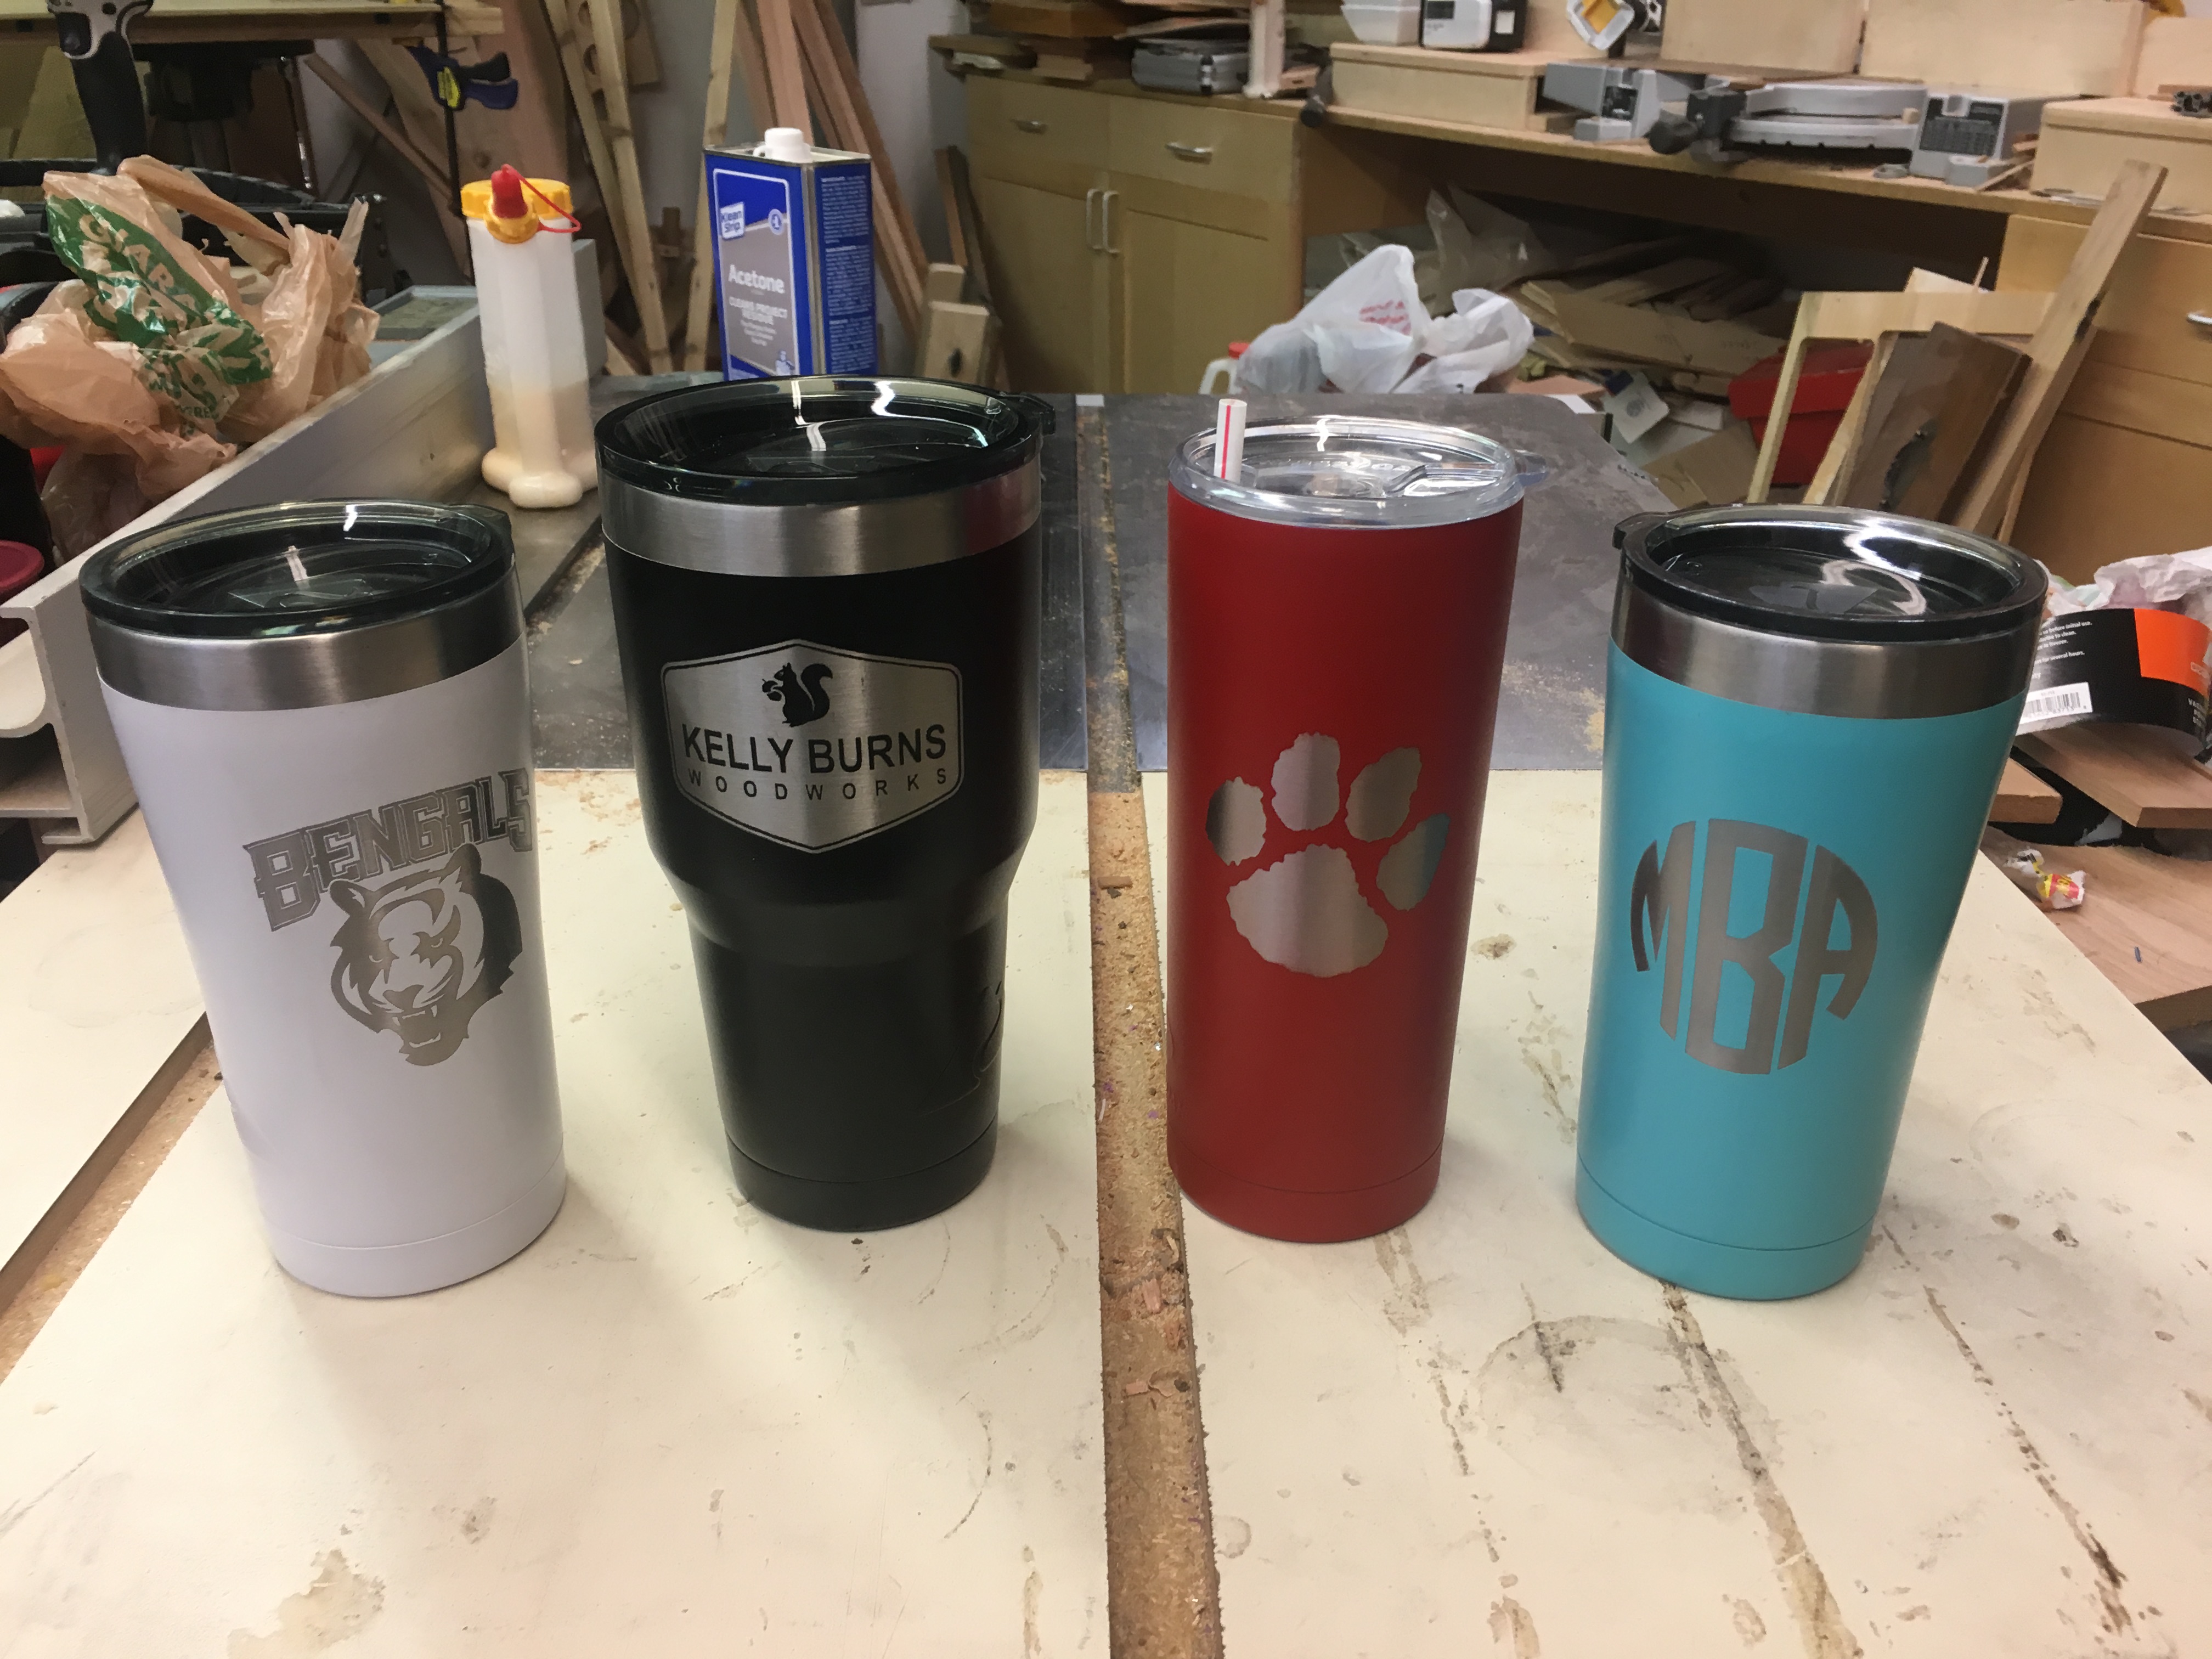
Shop made Rotary works pretty well. This completes the upgrades I wanted to make to my K40. Not a big need for Rotary with my Woodworking, but my kids will be using the Laser for gifts and to make money engraving non Woodworking Items. I will also be engraving a bunch of Tumblers to give to the friends and family that support my Woodworking Business.

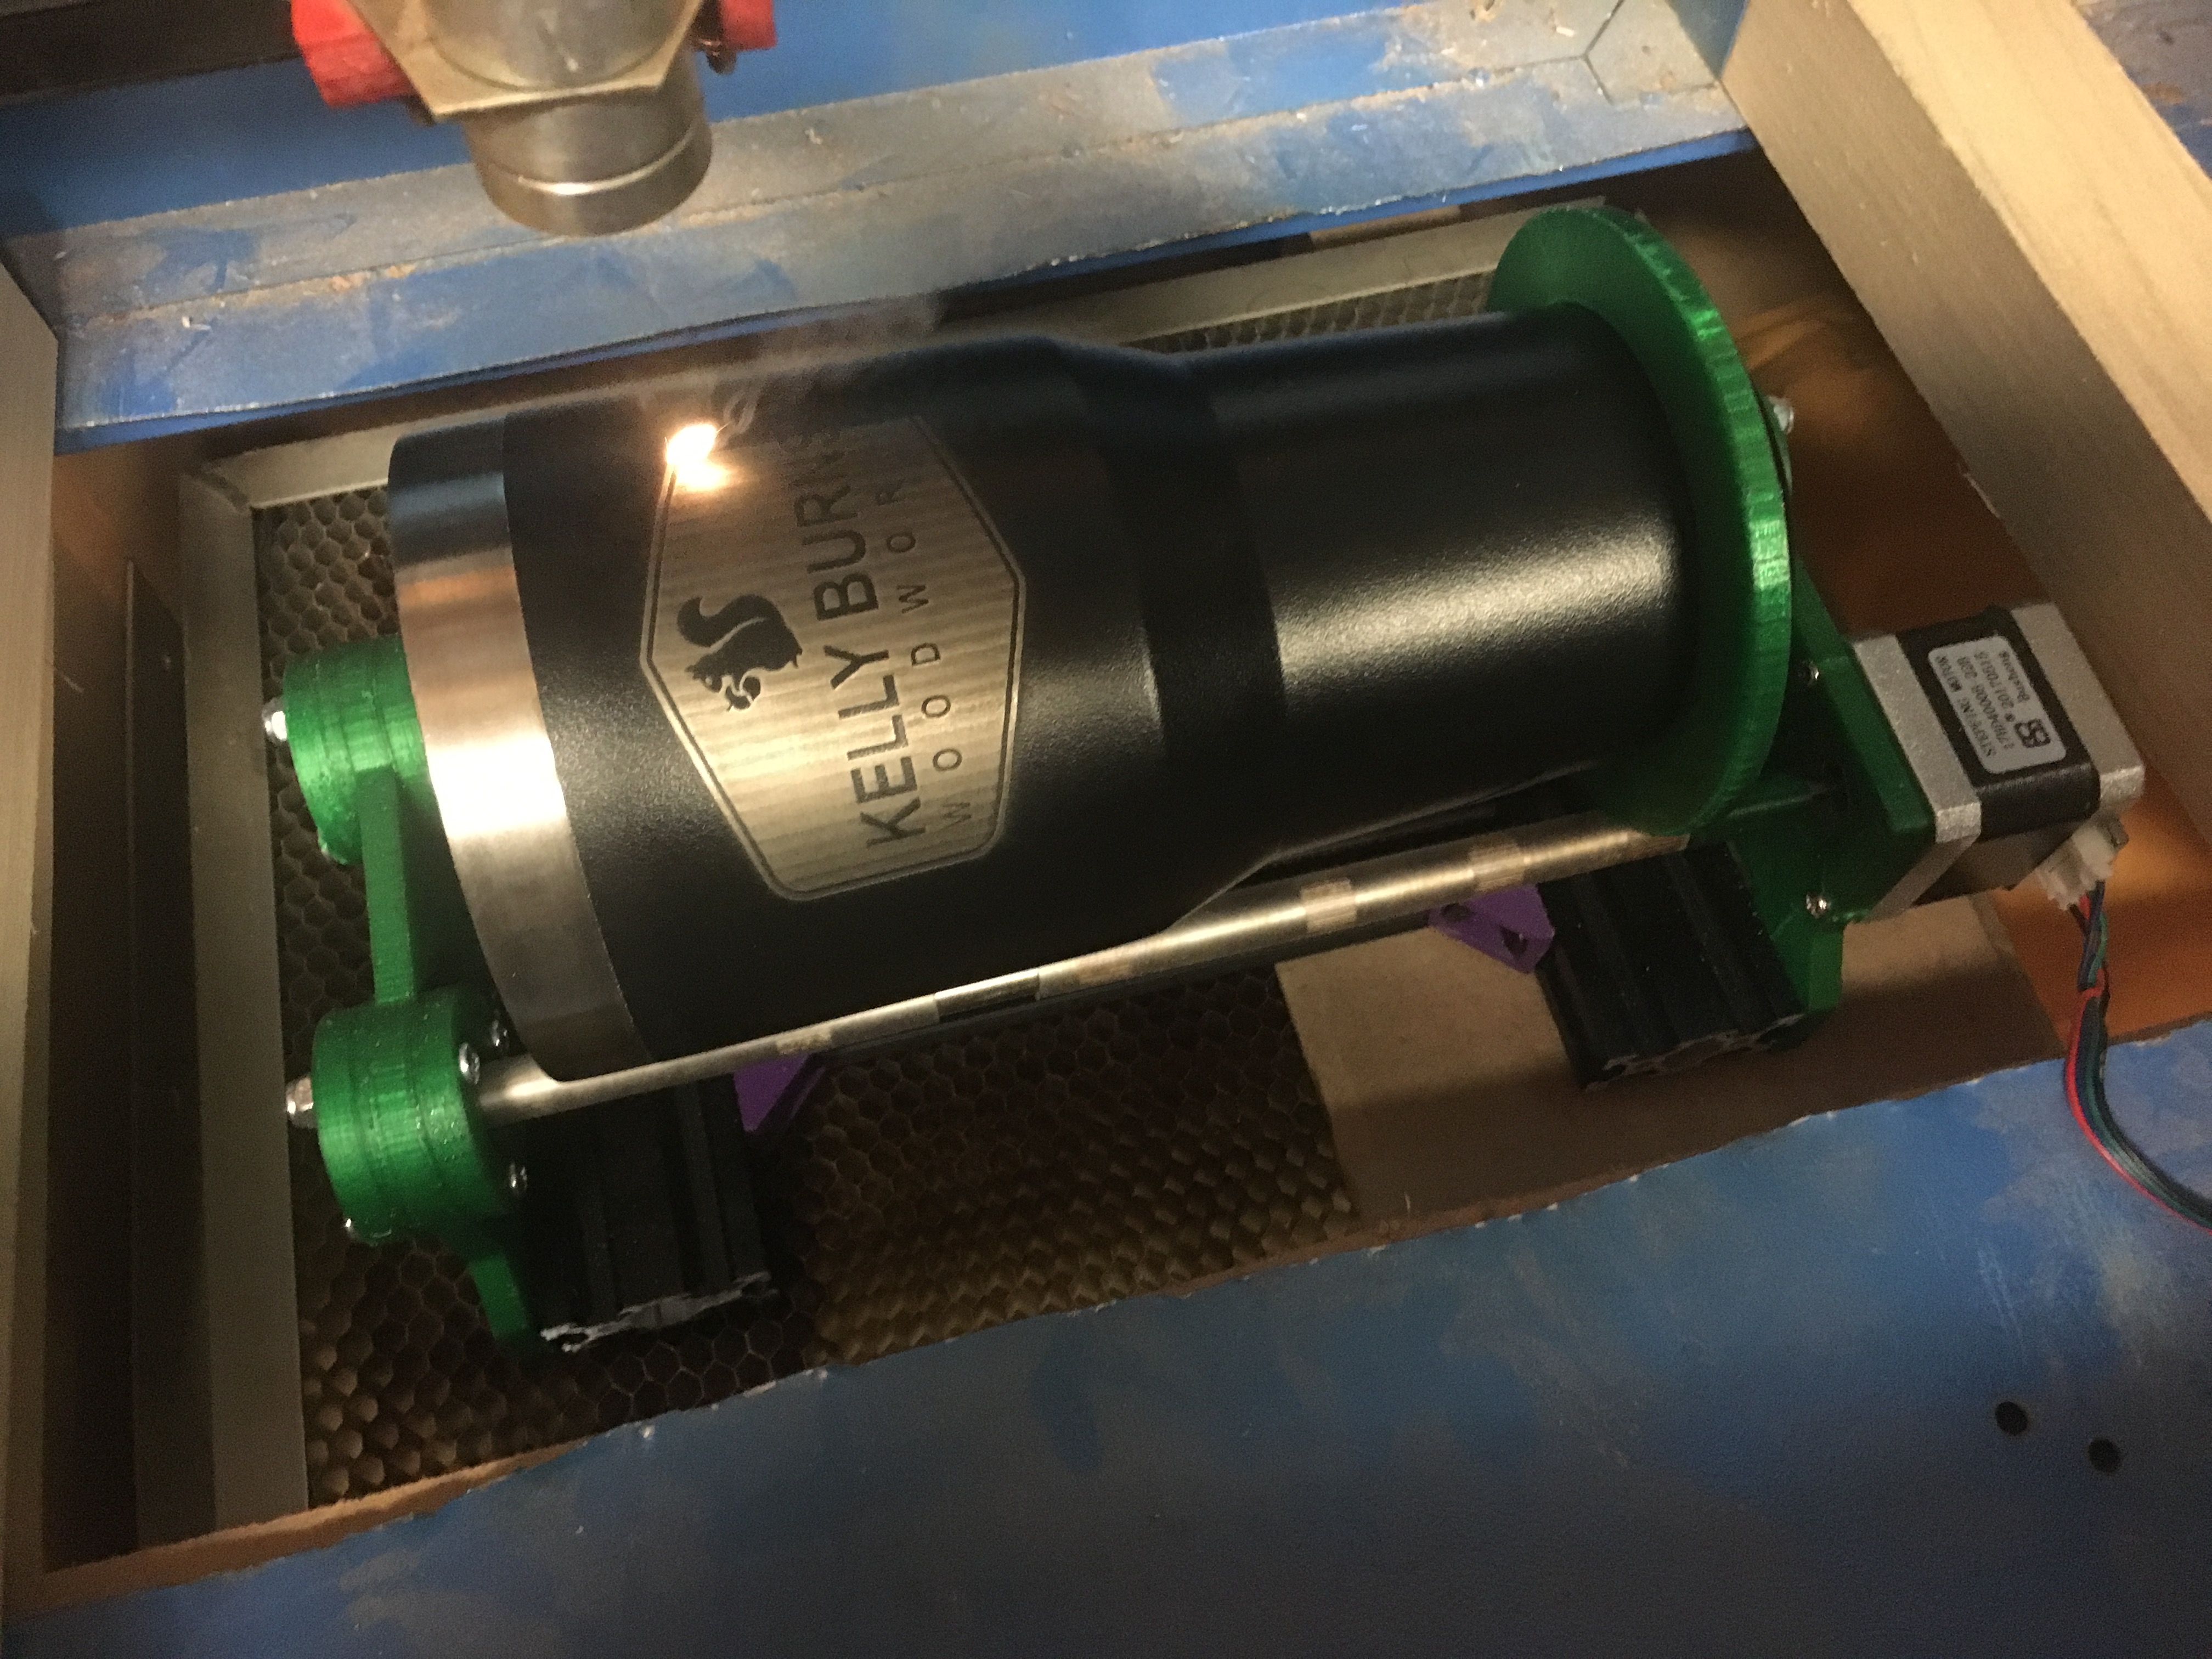
Working Rotary in action…
missing/deleted image from Google+
Nice job! Looks really well put together.
Thank You. I was very surprised how solid it turned out. The rollers are from an old inkjet printer covered with silicone tubing. Scraps of 2040 Extrusion and 3D printed parts inspired from another design.
Very cool.
Are you doing anything to the tumblers before hand, or just blasting the paint off them?
@TwelveFoot just removing the paint. I have a Powder Coating setup, but these preprinted ones are actually cheaper than the plain stainless ones.
What controller and software driving?
I’m running an MKS sBase with Grbl LPC and driving with LaserWeb.
Have to cut my d**n k40 bottom 
Really cool, how does this work? Will the y axis replaced by the rotary axis?
Or will the rotary axis attached? How complicated is it to diy one?
#K40Rotary
uhhhh thanks @donkjr
@Jorge_Robles I did a hack job on it. My grinder Locked up on me so I used a jig saw and tin snips to finish. It does what I need though. It’s not a hard job, just messy and noisy. I did it with all electronics and carriage components removed.
You can make a smaller, more shallow version and do smaller items without cutting bottom, but with my setup was limited to items that were < 60mm diameter. Plus I actually cut the bottom out for other reasons. I want to be able to engrave my woodworking items post assembly.
@BEN_3D I write everything up eventually, but Don directed you to good info. I have been gleaning info from the web for a while. My design is based of one I stumbled across. I turned it into a 3D model and then substituted the parts I had on-hand.
I am currently swapping out Y axis because I didn’t have the version/config for GRBL. I use GRBL config settings to change the Y axis steps/mm on the fly as needed. I’m hoping to correct that tonight with a new version of Grbl LPC from another user.
I did make a plywood version of a Rotary last year that I used with the stock controller. Since I couldn’t change the Y axis step settings, I just distorted the original image as needed to make it work. As I recall, I had to stretch the image by ~30% along the Y axis.
I would encourage people to try this. If you have access to a 3D printer, you can make this for about $30-$40. I only spent $14 on a stepper? Everything else came from scraps and spare parts I had. It adds some great functionality. My daughter saw her Monogrammed tumbler and is already planning teacher gifts for holidays.
@Kelly_Burns Thanks for sharing this. I am working on making one based on your design, unless you have shared the 3D printing files somewhere. Just wondering if you experience the item being engraved walking up or down your rotary? Is this even an issue, or is there something that keeps it from walking up/down the rods? Only thing I am trying to figure out now is the best distance between the two rods. What is the spacing on yours if you don’t mind sharing? Thank you.
@Arion_McCartney I was trying to cleanup my models before making them available, but I can release some draft versions if it would help. I’ll do that tonight and post a link to my good drive.
The only issue I have had was engraving pens. They aren’t heavy enough and the wheels do slip on the rods.
It’s not perfect, but can’t beat it for the price.
I am working on some accessories that clamp on the rails to keep things straight.
@Kelly_Burns That would be awesome and much appreciated. I have made a different version rotary from Thingiverse, but it ended up not working as well as I’d hoped for. Your design seems simple and worth a shot. Thanks again.
