Upgrading a NopHead Mendel90 to an E3Dv6 I recently had the pleasure of visiting the

Upgrading a NopHead Mendel90 to an E3Dv6
I recently had the pleasure of visiting the TCT 3D printing show and meeting the E3D guys and their new hot end close up. I’d always fancied getting one and seeing it was enough to persuade me :slight_smile:

Wiring it up
One of the things you need to do when changing from a J Head to an all metal hot end is provide 12v to permanently run the hot end cooling fan. The NopHead Mendel 90 uses switched negative on the regular fan and heater, so one way is to take the positive feed from those and find a ground.

I took a look at the wiring methods people were using online and discovered many of them were using the ground from the temperature sensor. I checked this method out and found that due to the resistance of the ribbon cable, the ground was pulled up by as much as 30mV when the fan was running, which I calculated could cause an inaccuracy of up to 10 degrees C on the sensor. This didn’t sound good so instead I decided to run a separate ground using the unused pin in the D-plug (which was originally connected to the RPM wire on the print cooling fan).

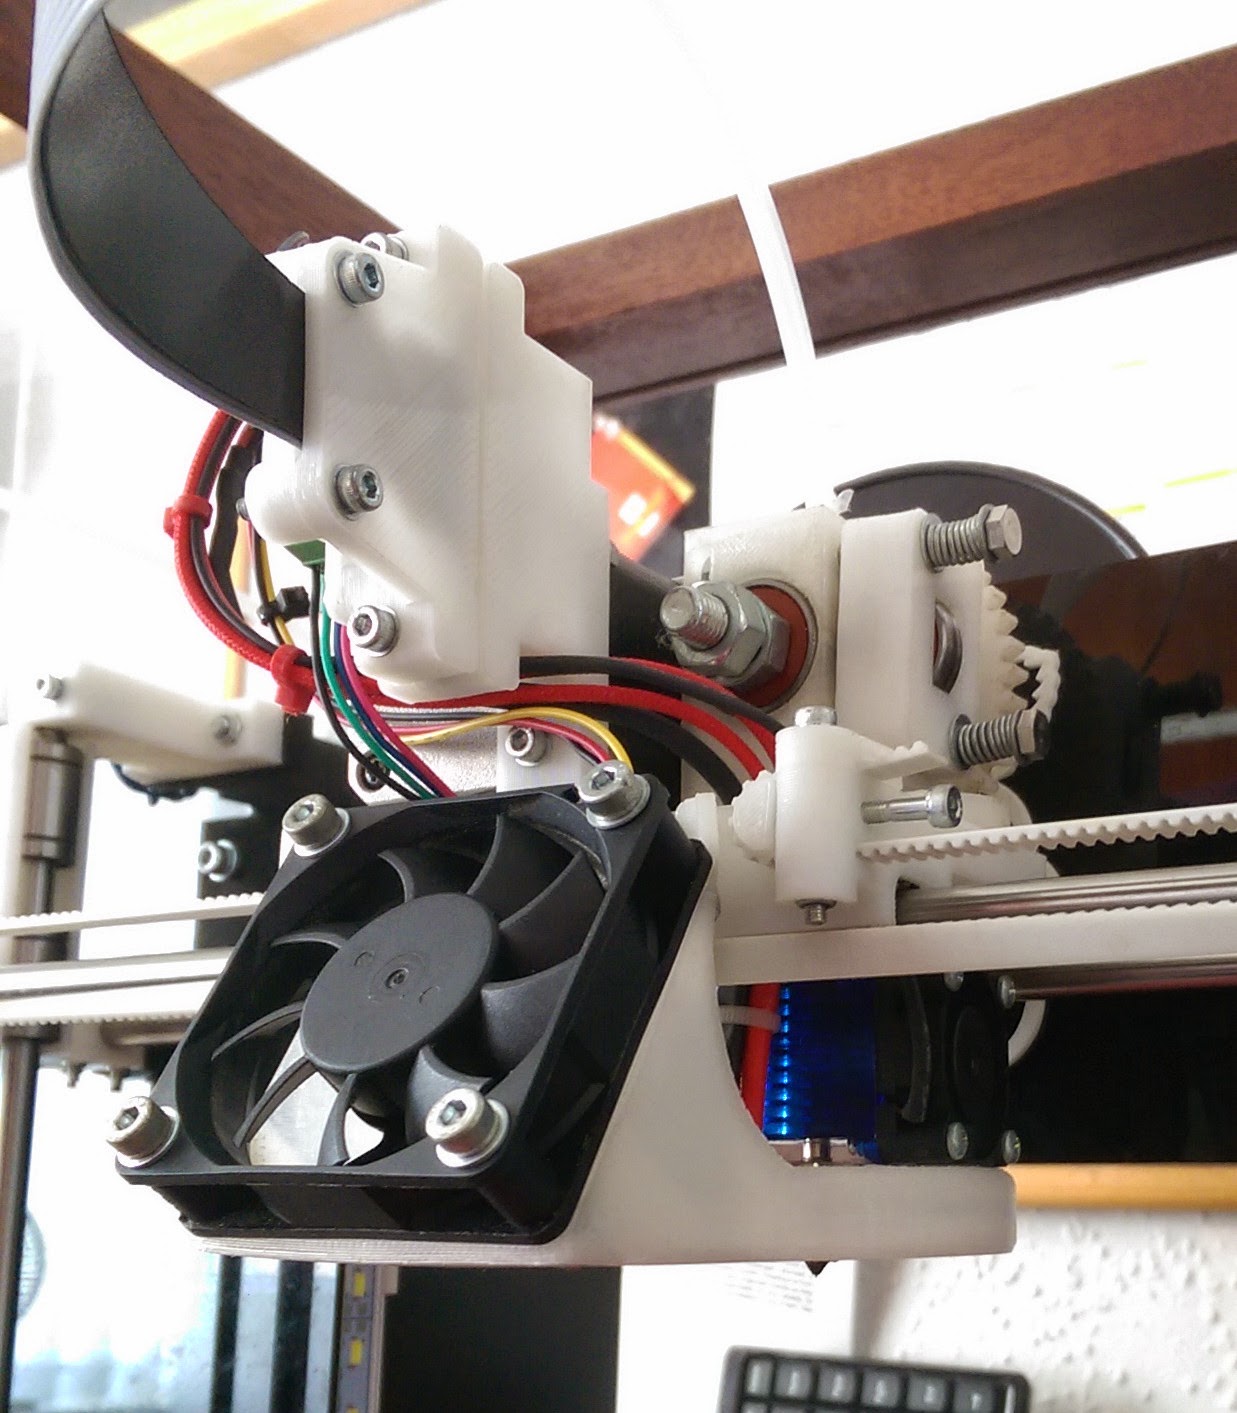
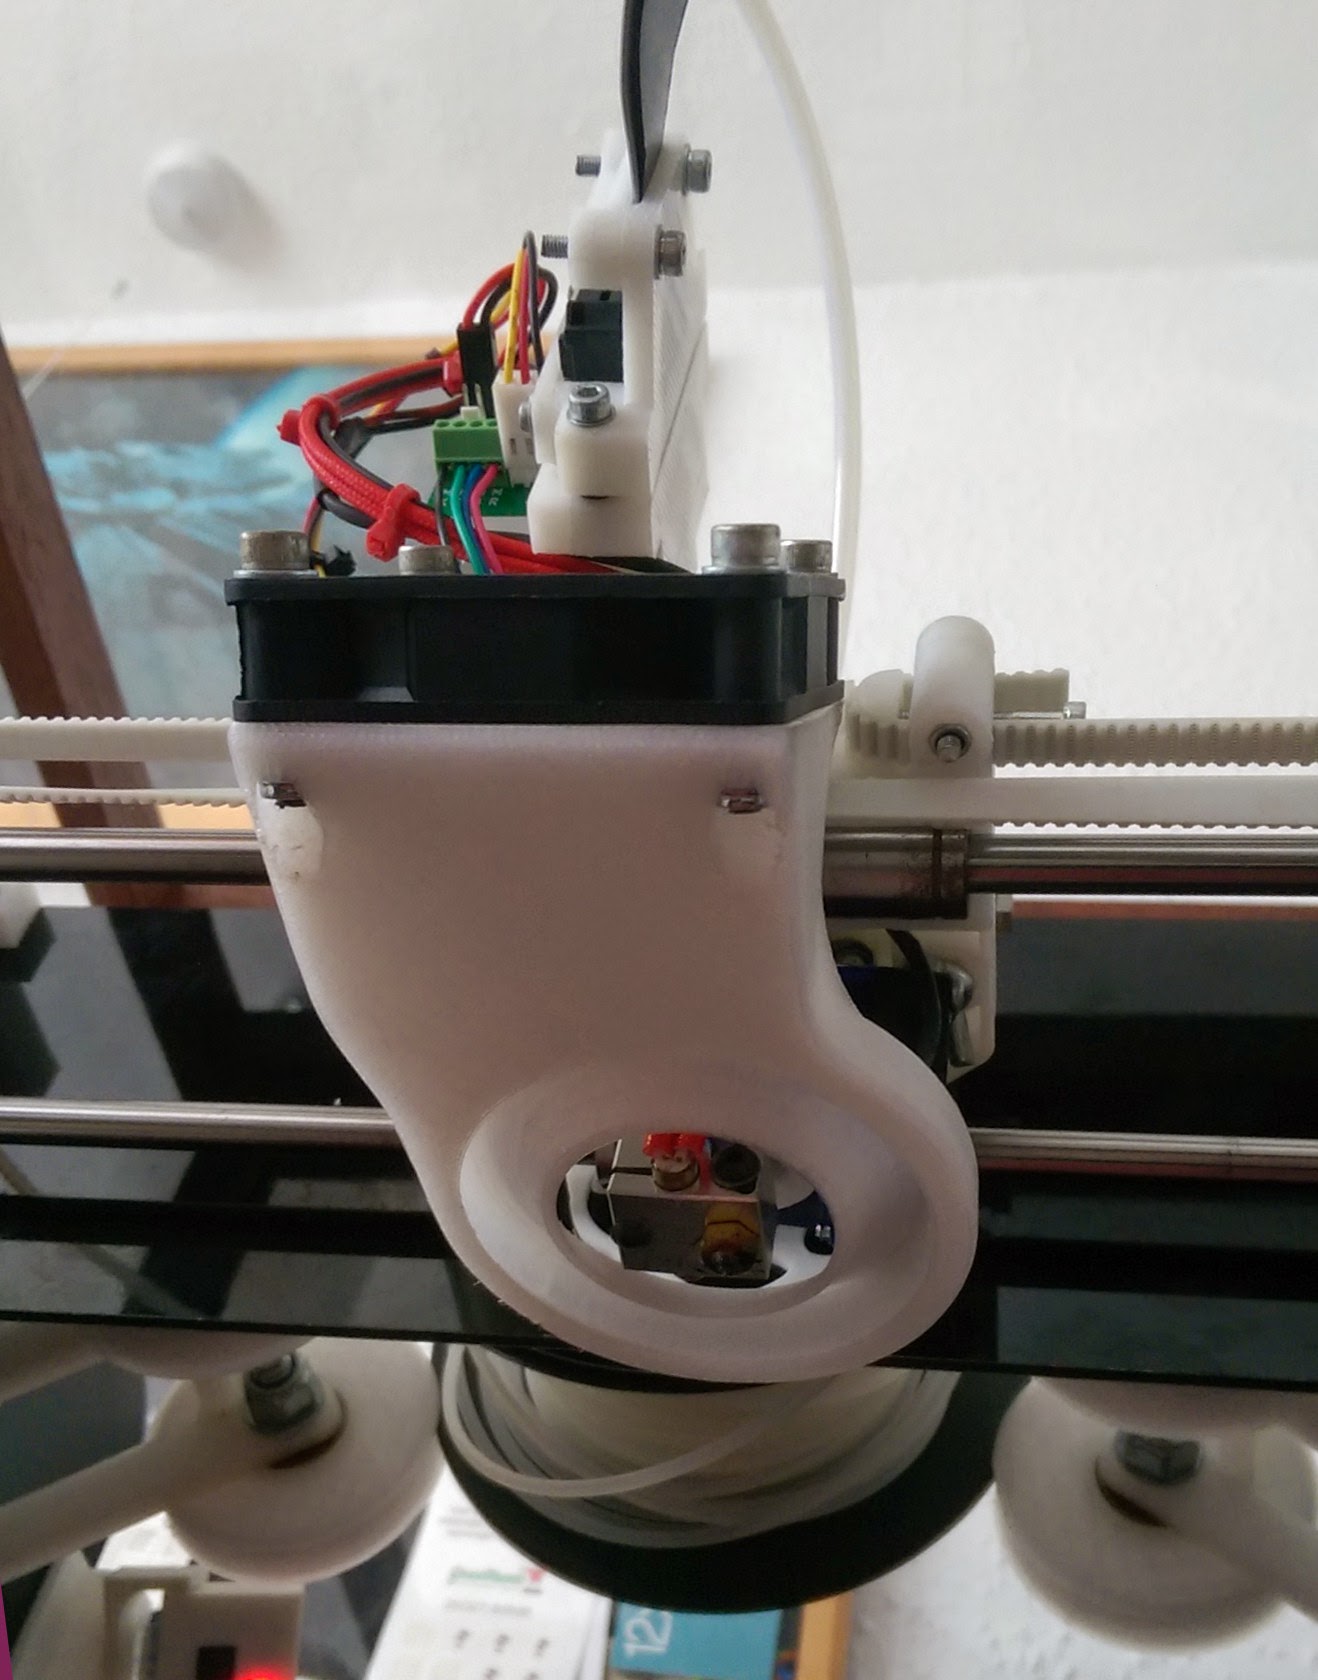
A quick modification to the PCB and a new ribbon (to get the extra wire) meant that I now had a separate ground and a new hot end fan connector (which you can see in the photos). (As an alternative you could also use the right hand Z probe (P) pin which is included on the standard ribbon and left unconnected at the board end but I decided I wanted to keep that to add a Z probe at some point.)

Cooling the prints
The next problem I had was the original NopHead duct which cools the print by blowing air around the nozzle didn’t fit. The E3D was longer and wider than the J Head which meant a new duct had to be designed. So I knocked one up in 123D Design and printed it out in Bridge and mounted it to the carriage.

Firmware
Finally after changing the the E3D you have to do a few tweaks to the firmware. These are well documented on the E3D site so I won’t go into too much detail other than to say I took the opportunity to migrate to the current version of Marlin rather than using NopHeads version (which he keeps a few versions behind for stability reasons). This was a lot harder than expected but I got it sorted in the end and I now have a fully working E3D :slight_smile:

Results
I have to say the J head supplied by @nop_head served me very well. The print quality was good and I never once had a jam which wasn’t easily fixed even when printing Laywoo-D3 (which was pushing my luck on a 0.4mm nozzle). However if you can afford it the E3D does take things a step further. The print quality is improved and the ability to change nozzle sizes really opens up your printer to a whole new world.

If anyone wants any further details on anything let me know below. I’ve kept it brief above so its palatable :slight_smile:

Hi @Nils_Grotheer , I’ve not done enough prints to tell for sure just yet but it certainly seems better so far.

With reference to the firmware do you have a @nop_head Mendel 90? If so I’ll post the files you need to change.

@Nils_Grotheer it’s the thin one. The thick one is the shared ground with the thermistor which is the one I decided not to use.

I’ll sort those files for you as soon as I get a chance tommorow…

@Nils_Grotheer I’ve not had a chance to try it yet but I forked Marlin and added my mods. Dont forget you will need to set Z_MAX_POS to the correct height for your bed and the last parameter of DEFAULT_AXIS_STEPS_PER_UNIT for your hobbed bolt (this is similar to the way NopHead described in his instructions but the values are in different places). DEFAULT_AXIS_STEPS_PER_UNIT should be the same as you had in your old firmware but Z_MAX_POS will need to be manually set.

Obviously if you try it please make sure you have an emergency stop handy in case I got anything wrong! When I first migrated I had lots of cases where I had to yank the power as motors were grinding and end stops we’re being hit etc, hopefully I will have reduced some of that pain for you though :slight_smile:

https://github.com/NeonHorizon/Marlin

I’ve checked and it compiles OK, I just need to upload it to the printer to test. Its a slightly newer version of Marlin than I have so it might have problems. If you look at the commits I made on github you can see the changes I made and hopefully they will make some sort of sense. Some are from NopHead’s version directly and others I adjusted.

Good luck and let me know how you get on, as I said before please be careful though as until I test it I’m not sure its correct.

I modified my again after this to add a third pin on the probe connector so I could add the Z Probe :slight_smile:

Hi Daniel, I also have a nophead’s mendel90. I ordered E3Dv6 a week ago and while waiting for it to arrive, I’ll print new cooling duct you provided. But please tell me why is there a need to change firmware other than z-home position? I can’t find any data on E3D site.

The temperature sensor is different. You need to change your settings as detailed in the E3D assembly guide. Heres the instructions for Marlin: http://wiki.e3d-online.com/wiki/E3D-v6_Assembly#Marlin

Great, thank you, haven’t found that. I’m thinking only about changing that settings in nopheads firmware, are there any improvements upgrading to newer version of marlin?

I went to the new firmware but I must admit I lost about 2 weekends because of it. If you are not running an LCD display or Z probe its probably not worth it.

Ok. Then I’ll just use nopheads and modify it. Thank you

Yeah I’d try that first.